Avoid the common mistakes and install it right the first time.
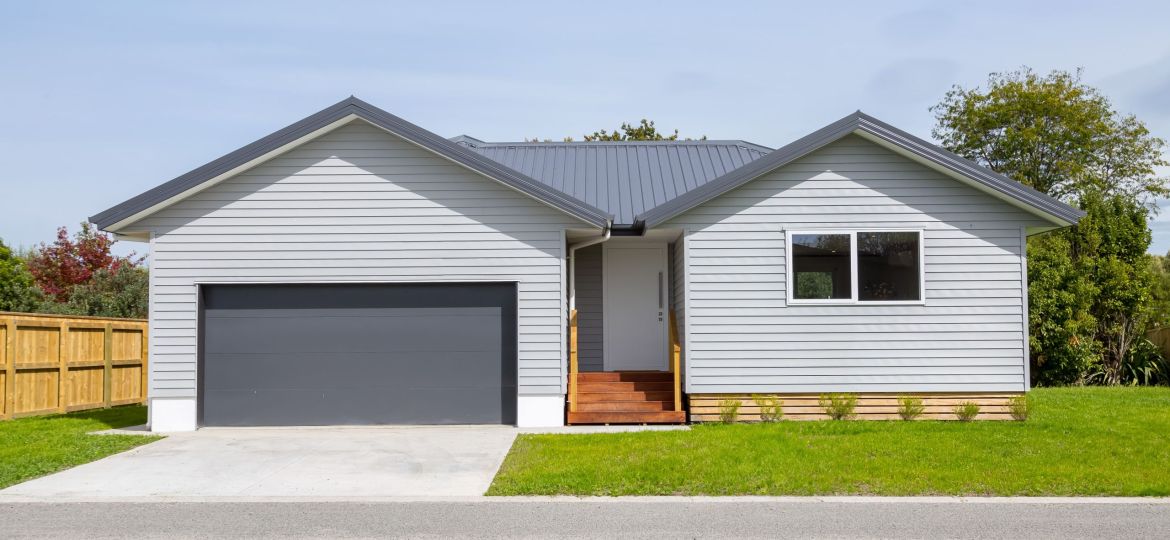
Installing vinyl cladding for the first time? Good news, it’s one of the more forgiving exterior cladding systems to work with, if you understand how it works.
Vinyl cladding isn’t just about fixing boards to a wall. It’s a floating system that needs room to expand and contract as the weather changes. Tight fixings or incorrect trims can lead to warping, buckling, or moisture issues.
Here are the key tips to help you get it right the first time.
1. Understand that it floats
Vinyl cladding expands in the heat and contracts in the cold, up to 2 millimetres per metre of board. That movement is built into the system.
• Leave expansion gaps at the ends of weatherboards where they sit in trims
• Never fix the boards tightly
• Avoid face fixing completely
Quick tip, after installing, you should be able to slide the board left and right slightly. If not, it’s too tight.
2. Use the right tools
You don’t need anything fancy, but using the proper tools makes the job faster and cleaner.
• Tin snips or a grinder for cuts
• Drop saw with a fine tooth or reversed blade
• Snap lock punch for securing the top row
• Hole slot punch for elongating slots
• Chalk line, level, square, and tape measure
Always wear eye protection when cutting cladding.
3. Fix in the centre of the slot
Never screw at the end of a slot. The cladding must be able to move.
• Use button head screws, 32mm to 40mm long depending on insulation thickness
• Fix at a maximum of 600mm centres, or 400mm in high wind zones
• Leave a 1mm gap between the screw head and the panel
• Drive screws straight and level
4. Get the starter strip perfectly level
The starter strip is the foundation of your cladding job. If it’s not level, every board will be out of line.
• Use a chalk line or laser to mark the line
• Fix at 200mm centres in the slot centres
• Leave a 10 to 25mm gap between each strip
• Make sure it lines up with corner posts
Take your time here, it sets up the whole job.
5. Trims are not just for looks
Trims play a vital role in keeping moisture out and allowing for board movement.
• J trims go around windows, doors, and soffits
• Corner posts must be installed level and square
• Leave 2mm clearance at the top of corner posts
• Fold and notch trims so they direct water away
Use the correct trim size for your cladding thickness. Call if you’re unsure.
6. Avoid installing in extreme temperatures
Vinyl cladding should ideally be installed between 10 and 25 degrees Celsius. In very hot or cold weather, the boards will expand or contract and throw off your cuts.
Use this general guide,
• 0°C, allow 2mm per metre of board
• 20°C, allow 1mm per metre
• Always leave at least 10mm total clearance between ends
7. Finishing the top row
The final board under the eaves might need to be cut down to fit.
• Use a snap lock punch to hold it in place
• Add silicone in the top trim to prevent slippage if needed
• You can also notch the top of the board and fix it with screws every 600mm
8. Check for free movement
After fixing each board, gently slide it side to side. It should move. If it doesn’t, loosen the screw slightly and check again. This is one of the easiest ways to avoid future warping.
9. Overlaps and joins
Use factory notches where possible and prepare overlaps properly.
• Remove polystyrene 50mm from cut ends
• Clean adhesive areas before nesting boards
• Overlap joins should always face away from high-traffic areas or front entrances
10. Take your time on the first wall
Your first few rows will take the longest, and that’s a good thing. Make sure,
• Boards are level
• Boards can move
• Fixings are correctly spaced
• Joins are planned and clean
Check every couple of rows before moving up the wall.
Final tip
If you get stuck or have a question, give Vinyl Cladding NZ a call on 0800 648 836. We’re happy to help and want your install to go smoothly.
www.vinylcladding.co.nz/vinyl-cladding-info/quantifying-installation.